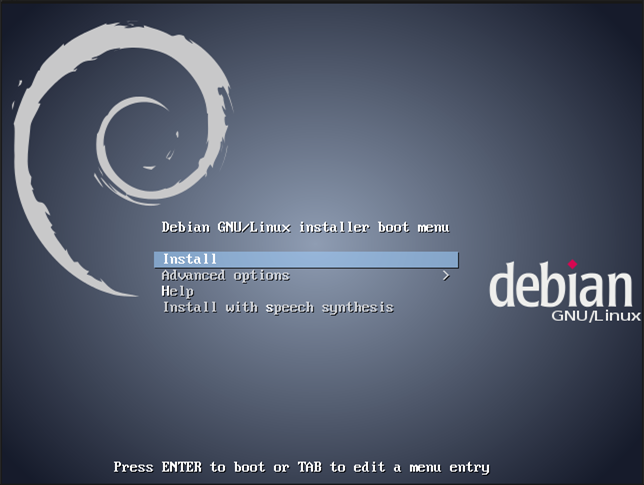
安裝首頁,先別急著按下 Install!
|
本實作內容主要目的:讓同學學會如何安裝作業系統,以下將帶各位同學實習安裝 Debian 作業系統。 將來大家都有機會接觸到 Linux 作業系統,在正式學習如何操作 Linux 系統之前,必須先學會如何自行安裝(重新安裝)作業系統!
由於燒錄光碟片成本耗大,因此在課堂上我們使用網路開機方式來安裝作業系統,同學回家後將網路開機改為光碟開機,其餘過程均與課堂上相同。
以下操作過程均建立在網路環境具有 DHCP 情境下。
為了避免輸入錯誤以及方便設置使用環境,我們使用下列按鈕來快速取代各個不同參數。
您的 IP 位址是:[Host-IP]
將光碟映像檔(.iso) 下載下來後,燒錄成光碟片。或是參考 UNetbootin,製作可開機 USB 碟來使用
若是家中環境使得安裝過程中沒有網路可以使用 (例如使用撥接上網 pppoe),請下載完整版光碟。
安裝過程請參考以下各圖(圖文不相同時,以文字為主!)
|
01
| 安裝首頁,先別急著按下 Install! |
硬碟分割與掛載
| 分割區編號 | 類型 | 大小 | 可開機 | 格式化 | 檔案系統 | 掛載位置 |
|---|---|---|---|---|---|---|
| #1 | primary | 512 MB | B | F | ext2 | /boot |
| #2 | primary | 5 GB | F | ext4 | / | |
| #3 | primary | 20 GB | F | ext4 | /usr | |
| #5 | logical | 10 GB | F | ext4 | /var | |
| #6 | logical | 10 GB | F | ext4 | /usr/local | |
| #7 | logical | 10 GB | F | ext4 | /tmp | |
| #8 | logical | 20 GB | F | ext4 | /home | |
| #9 | logical | 16 GB | F | swap | swap | |
| #10 | logical | 20 GB | F | ext4 | /src1 | |
| #11 | logical | 20 GB | F | ext4 | /src2 | |
| #12 | logical | 120 GB | F | ext4 | /src3 | |
| #13 | logical | 120 GB | F | ext4 | /src4 | |
| #14 | logical | 40 GB | F | ext4 | /backup | |
| #15 | logical | 125 GB | F | ext4 | /video |
由於我們現在要建立全新的電腦系統,因此將所有分割區都格式化。若將來想要重新安裝作業系統,並保留個人資料只需要格式化分割區9 以前的分割區。
01
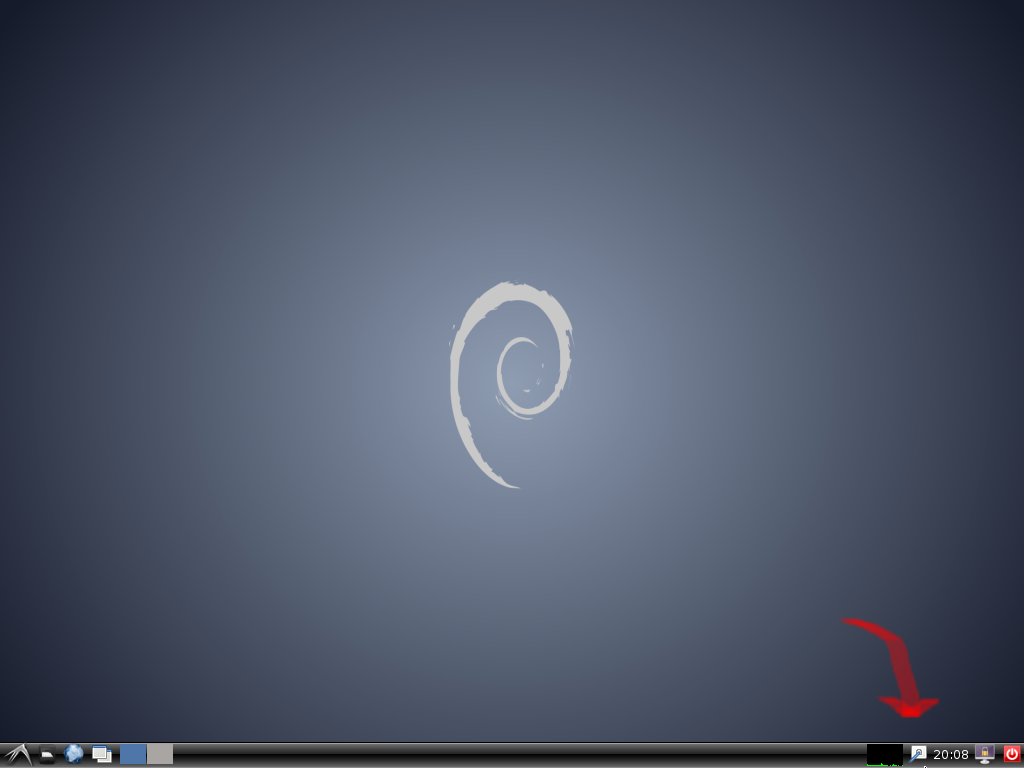
| 登入後的畫面,首先我們在右下方時間左邊的圖示上按下右鍵。 |
首先我們先將自己的帳號加入 sudoers,儘量避免使用 root 帳號會比較安全一點!
#
# This file MUST be edited with the 'visudo' command as root.
#
# Please consider adding local content in /etc/sudoers.d/ instead of
# directly modifying this file.
#
# See the man page for details on how to write a sudoers file.
#
Defaults        env_reset
Defaults        mail_badpass
Defaults        secure_path="/usr/local/sbin:/usr/local/bin:/usr/sbin:/usr/bin:/sbin:/bin"
# Host alias specification
# User alias specification
# Cmnd alias specification
# User privilege specification
root    ALL=(ALL:ALL) ALL
cloud   ALL=(ALL:ALL) ALL
# Allow members of group sudo to execute any command
%sudo   ALL=(ALL:ALL) ALL
# See sudoers(5) for more information on "#include" directives:
再來我們要將 Wicd (or network-manager) 移除,雖然圖形界面似乎很便利,但是他常常會出來搞鬼!
若要移除 network-manager 則
手動修改設定檔,養成好習慣,更改任何設定檔之前要先備份!
# This file describes the network interfaces available on your system
# and how to activate them. For more information, see interfaces(5).
# The loopback network interface
auto lo
iface lo inet loopback
auto eth0
iface eth0 inet static
  address [Host-IP]
  netmask 255.255.255.0
  gateway 192.168.102.254
接著是設定 DNS servers,一樣要記得先備份!
nameserver 140.120.13.1
nameserver 140.120.1.2
nameserver 8.8.8.8
為了不影響其它課程使用, 我們安裝完以後將預設系統改為第二顆硬碟(sdb). (第二週同學)
為了不影響其它課程使用, 我們安裝完以後將預設系統改為穩定那顆硬碟. (第一週同學)
重開機試試看設定是否都正確!